

Hands down, “Irish” potatoes are THE most fun to grow of all vegetables. Not only are they easy to grow, harvesting is like digging for buried treasure. Kids and adults alike go crazy when digging them up. At some point you may need to take the shovel away before they dig up your entire garden!
In USDA Zone 9 plant potatoes now through early March. In Zones 1-7, plant in spring. Warmer zones can plant in fall or early winter.
Purchase “seed” potatoes (actually just potatoes) from a local nursery, online or through a catalog. These potatoes are certified disease-free and coated in a protective fungicide to prevent potato blight and other diseases (wash your hands after planting). Avoid using potatoes from other sources like the grocery store, as you could introduce pests and diseases into your soil.
Nurseries usually carry potato varieties labeled “white,””red,”or “purple/blue” and sometimes ‘Yukon Gold’ (has a yummy, buttery taste). If you order potatoes from a catalog or online, suppliers won’t send your order until it’s time to plant in your zone. Before you order, it’s important to note that 1 pound of potatoes normally yields 10-15 pounds at harvest.
The purple/blue potato variety literally drips purple juice when you cut into them and ‘Yukon Gold’ makes a great baked potato, but my favorite kind of potato is the ‘French Fingerling.’ They have a creamy texture and are delicious!
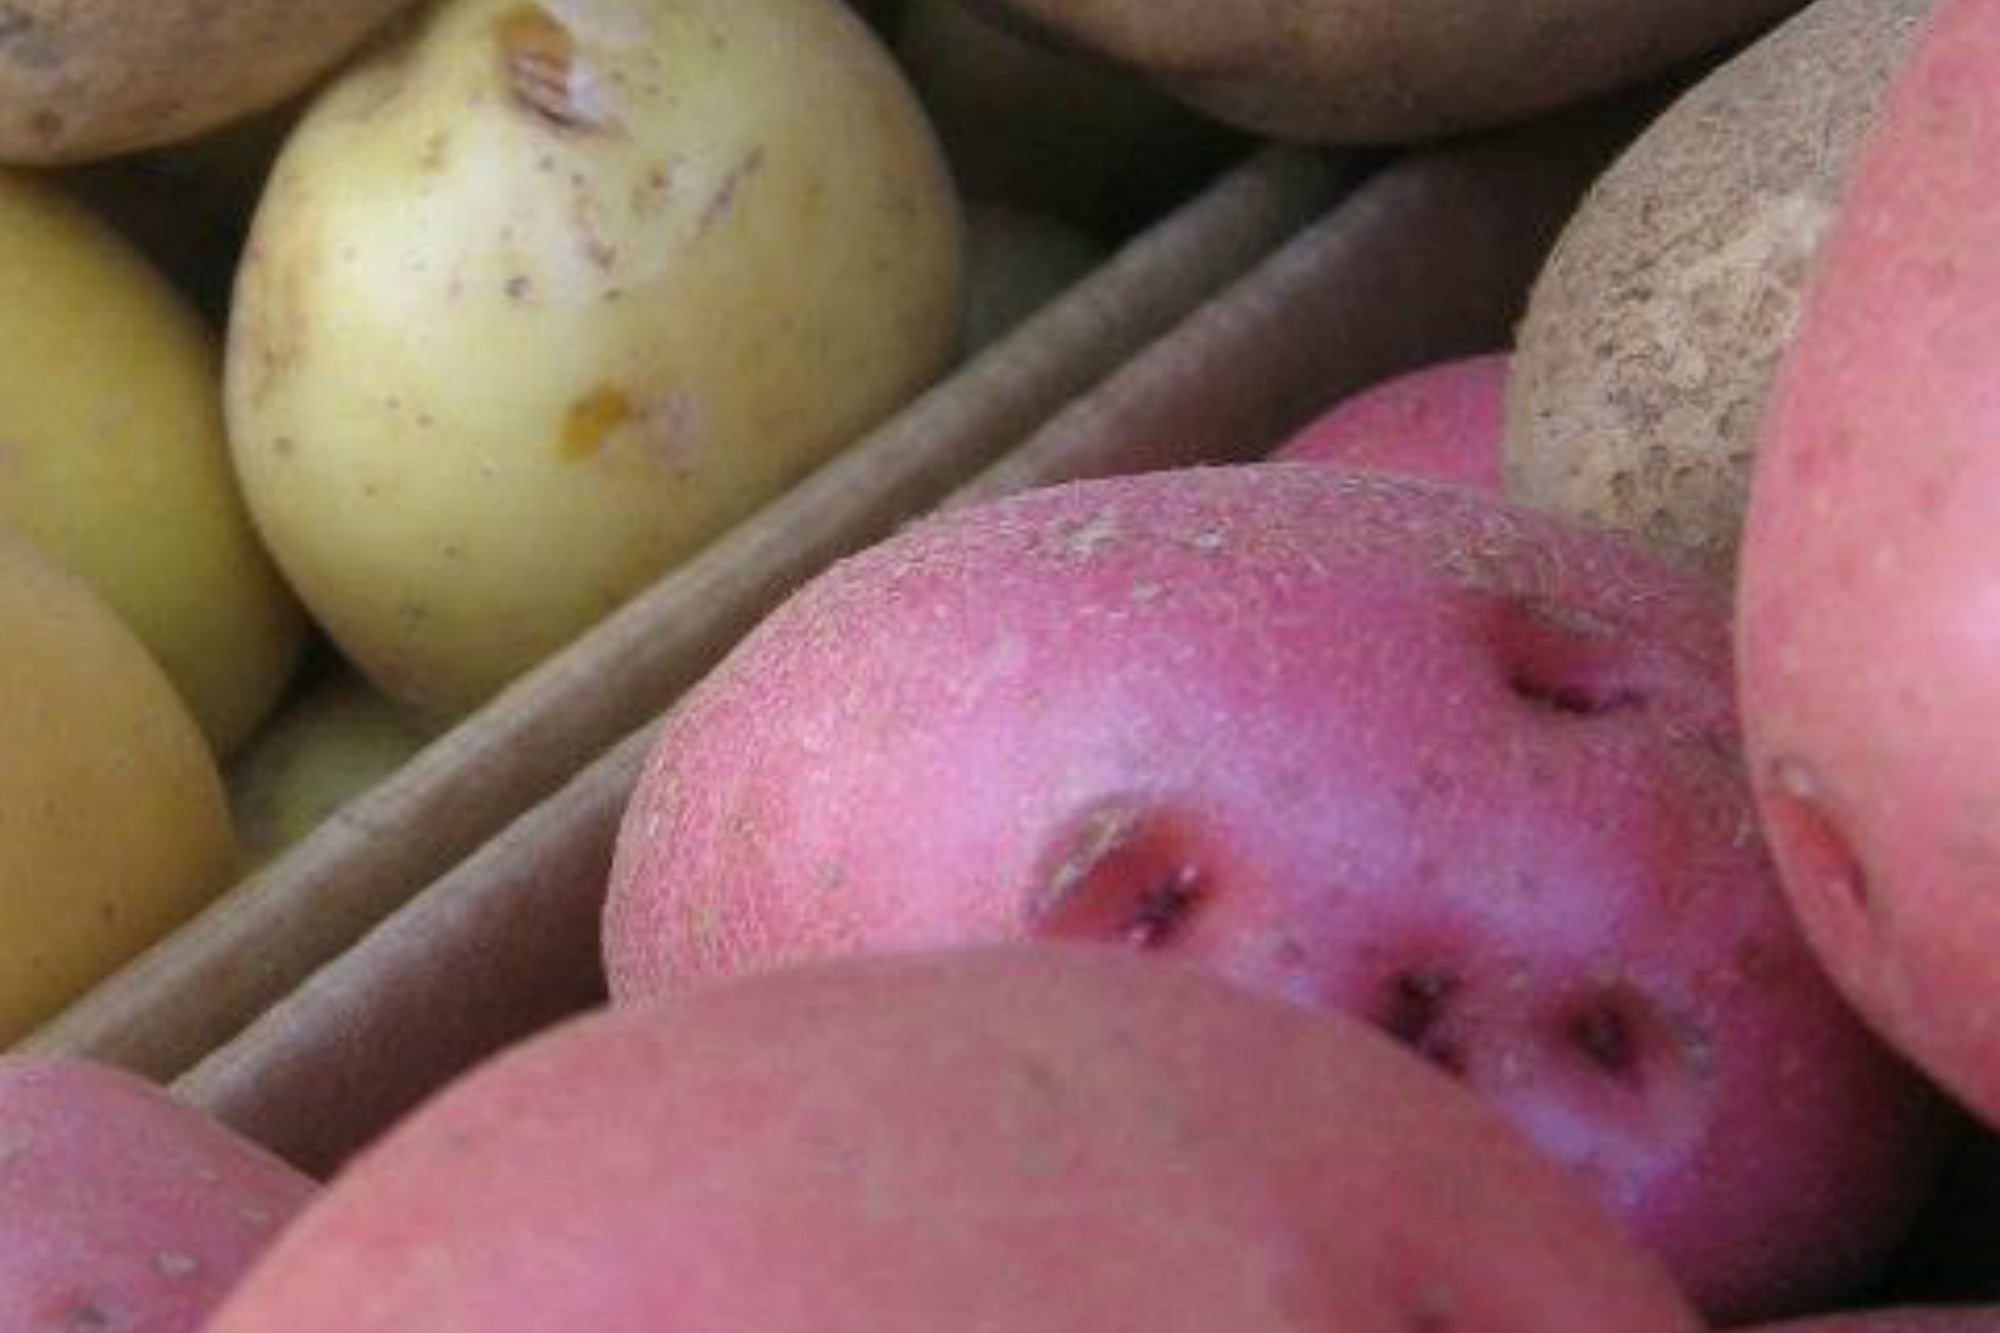
Some types of potatoes have more eyes than others.
To get started, slice potatoes into 1″x 1″ pieces with at least two “eyes” per piece at least one day before you plant. Set them out to dry on a piece of newspaper. The “eye” is where the stem will grow, so be sure to plant them face up. There are several ways to plant potatoes.
- In the ground: prepare soil by adding compost and mixing it in well. Dig a trench 3″ deep in your garden by 8′ long. Space rows 2 1/2′ apart. When planting, remember the closer you plant the pieces, the smaller the potato. Plant 6-12″ apart depending on the size you prefer. As the potato plants grow, add soil around the stem (but not over the top). This will eventually create an 8″ tall mound and makes for an easy harvest.
- Under straw: dig a trench 4″ deep and 1′ wide. Place the potatoes in the trench with the “eyes” facing up, then cover with straw (NOT hay, which has weed seeds). As the plants emerge, layer around the stems with more straw. The potatoes will develop under the straw and be very easy to harvest!
- In a bucket. Use a container (5 gallon buckets are fun) and fill halfway full of potting soil. Plant potato pieces 3″ deep. As they emerge, add more potting soil around them. In spring, dump out your bucket and harvest the potatoes! (this is a great project for teachers to do with students).
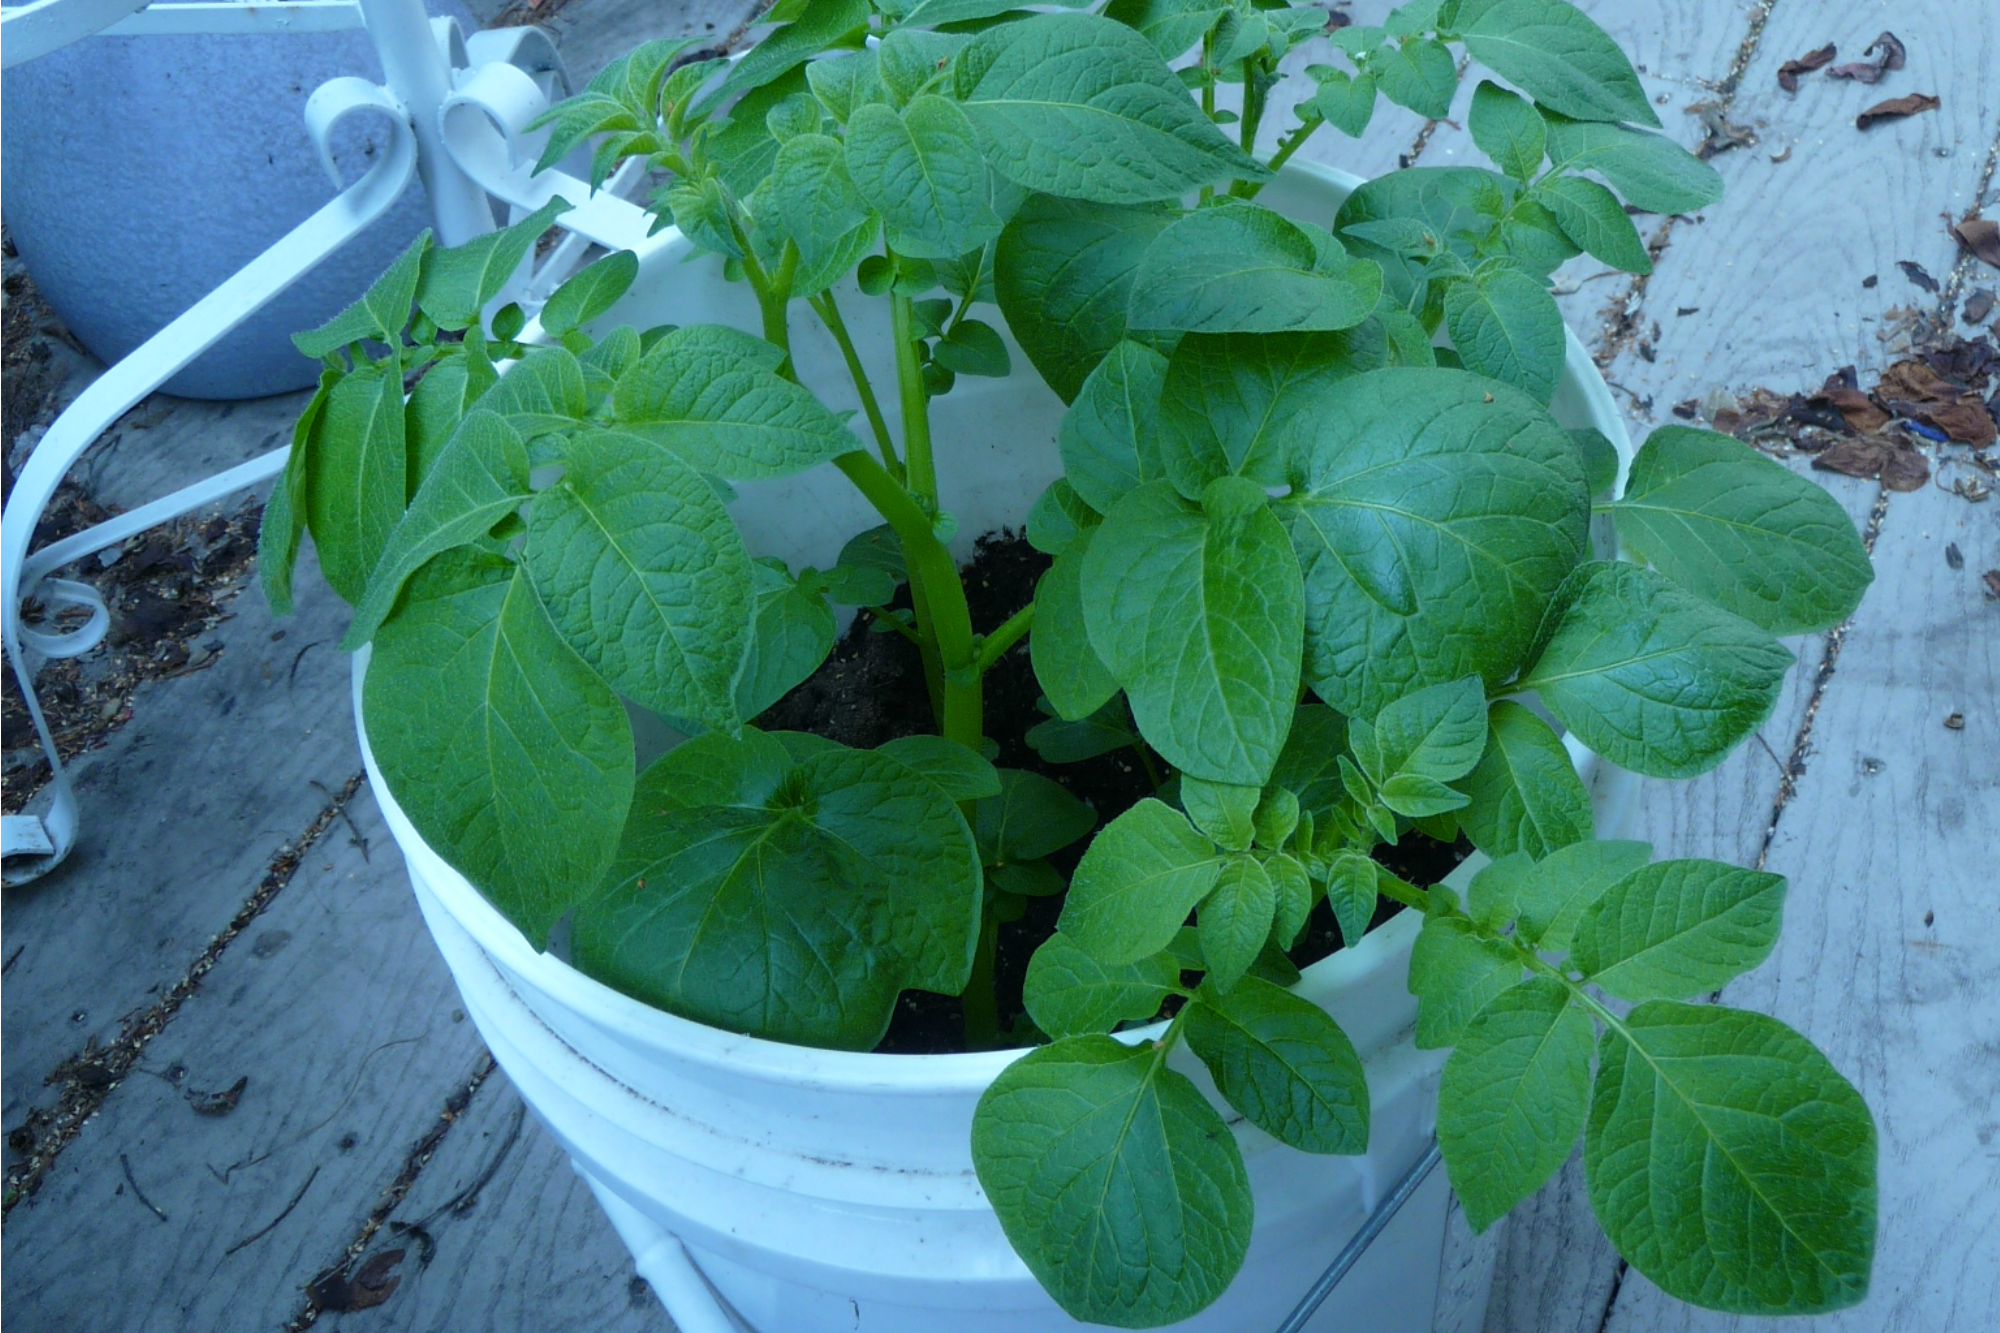
Potato growing in a 5 gallon bucket.
When harvesting, use a spading fork and gently turn the soil to remove a plant and its potatoes. In early spring you can dig up and use “new” potatoes (small potatoes). It’s not necessary to harvest all the potatoes at once. In fact, you can leave them in the ground and dig them up as needed, as long as you dig them up before fall. After harvest, brush off the potatoes and store them in a cool, dark place (45-64°F) where they will keep for about 6 months. Layer between them with paper bags or burlap so they stay dry.
Please write and share your tips for planting potatoes as well as any favorite recipes. Oh, and for a laugh about the many uses of potatoes, check out this hilarious video!!
Happy Planting!
*”Irish” potatoes, are really from Peru. To learn more about the origins and history of these potatoes, click here.
Comments
comments