Woolly pockets bring fun and creativity to any landscape, indoors or out! But the coolest thing about woolly pockets is they are environmentally-friendly. The “felt” part of the pocket is made of 100% recycled plastic bottles. The end result is a pocket that actually feels softer than felt!
There are several styles of Woolly Pockets. The pockets I received were Wally’ and ‘Island.’ I decided to hang the two ‘Wally’s on the cement wall outside my mother’s backyard. It’s almost her birthday and I want to make her yard pretty so she can enjoy sitting outside.
Before planting, I read an article in ‘Garden Gate’ magazine about combining ‘Silver Springs’ Dichondra with white and purple pansies and felt inspired! I was ready to make a list and head to my local nursery. The only “person” not excited about the installation of the woolly pockets was Snuggles, who had decided the pocket felt was very comfortable. She thinks the company should create a line of “Woolly Pocket Snuggles” next. 😉
‘Wally’ can be for either indoor or outdoor use. Be sure you select the correct one when purchasing. My two ‘Wally’ pockets are for outdoor use. In case you didn’t read my facebook post, I actually WON these pockets in a contest. When I found out I started jumping up and down and repeating “I won I won!” I rarely win anything cool, much less related to gardening, so this really made my day.
The outdoor pockets came with two sets of screws, one for use in masonry (brick/cement) and the other for use in wood. Make sure to use the correct ones! You’ll also need a drill and some safety glasses. Having a good friend help hang the pockets is also very handy!
After installing the pockets, fill them up halfway with good quality potting soil. Personally, I prefer Master Nursery brand potting soil, because it holds water well but also drains well. It is more expensive than most potting mixes, so I don’t always purchase it. However, there are some really bad potting soils on the market that never dry out and cause plant rot. Read the back of the potting mix ingredients and avoid potting soils that contain the ingredient “sedge peat,” which is the ingredient that causes mixes to hold onto water too well and drown your plants’ root system.
Before planting, you can arrange your plants by setting them in the pocket while still in their containers. After a bit of fussing, we put the dichondra on the left in the top pocket and then set the purple, violet and white pansies next to it. The pocket below has the dichondra in the middle surrounded with pansies. (Isn’t my mom cute?) Once the plants start to grow they will cascade out of the pocket and you may not even see ‘Wally’ by the time the season is over!
We used 7 pansies in each pocket along with the dichondra, because we wanted a full look right away. In just a month or so, the plants will fill in and I’ll add more photos. Then you can see the progression of the plant growth.
Watering an outdoor Woolly Pocket is really easy. Instead of watering the soil like a traditional pot, water the “tongue” of the pocket. When you purchase your Woolly Pocket, you can pull the tongue out to get a better look. In this picture to the left, you can see the tongue which is the back part above the plants. I used a hose and squirted that area until the water began to run out the bottom of the pocket.
How often should you water the pocket? Just feel the outside to check. If it feels moist,
don’t add water. If it feels kind of dry, you can check the soil too. A good rule for a first planting is to keep it moist while the plants become established.
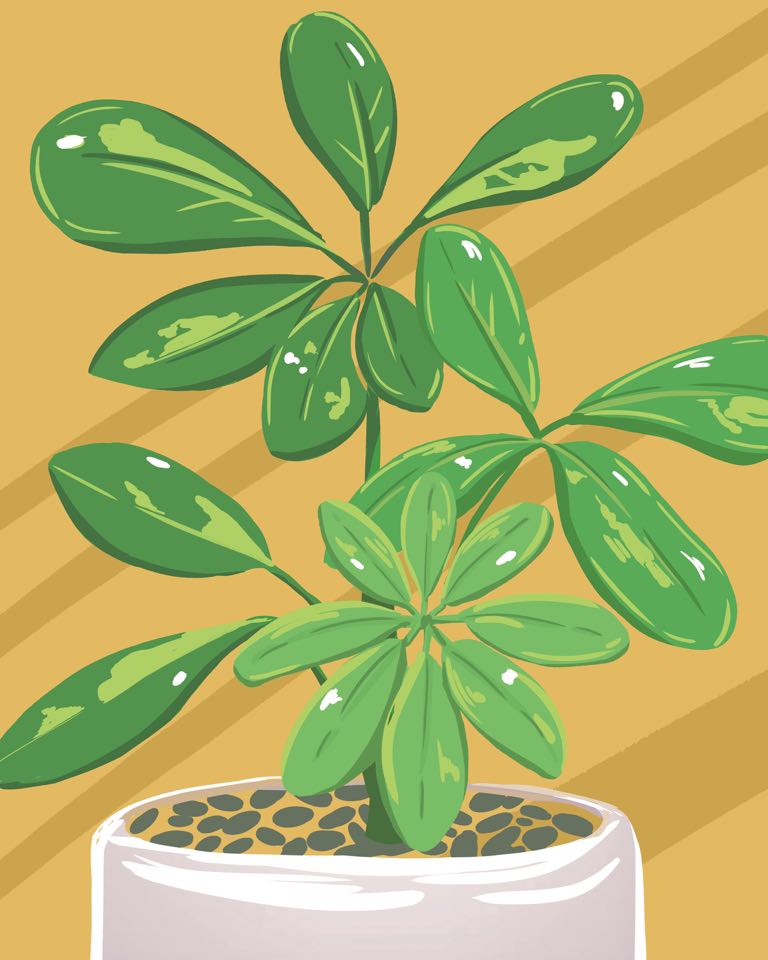
Now that I’ve hung up the outdoor ‘Wally’ pockets, I’m already thinking I need an indoor one too! I also need to decide where to use the ‘Island’ Pocket. I think I’m going to put a scheffelera in it and keep it inside, but I’ll keep you posted.
Happy Gardening!



Leave a Reply